


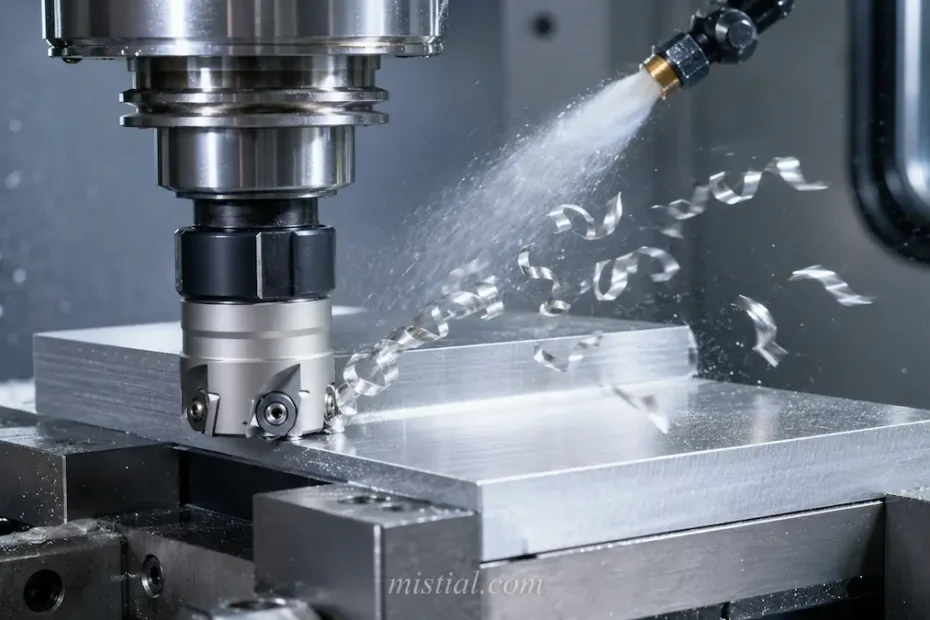
Aluminum is not usually the material that scares a machinist. The problems tend to show up later, when the spindle is running fast, the chips start packing around the cutter and the finish is no longer as clean as it was at the beginning of the shift.
That is where cutter geometry starts to matter.
The Yumiteck SM90-XP aluminum shoulder milling cutter uses a two-edge design with a relatively large rake angle. Yumiteck positions it for face milling, plunge milling and ramp milling, with the larger rake angle intended to reduce cutting force.
For aluminum work, that is the part I would pay attention to first.
A cutter that shears the material cleanly is generally easier to work with than one that needs more force than the job really requires. This becomes more noticeable on thinner parts, lighter fixtures or components where surface finish matters.
Chip evacuation is the other thing worth watching.
Aluminum can produce a lot of chips very quickly. If they are not getting out of the cutting area, the answer is not always to change the speed or feed immediately. Check whether chips are being recut, whether the insert edge is still clean and whether coolant or air is actually reaching the cut.
Tool overhang is worth checking too. If the cutter is hanging farther out than necessary, shorten it before chasing other problems in the program.
The SM90-XP is not interesting because it can technically cut aluminum. Plenty of cutters can do that. The useful question is whether the geometry matches the way aluminum behaves during repeated production work.
Yumiteck’s wider range of CNC milling cutters covers aluminum, steel, mould machining and other materials.
If most of the work is aluminum shoulder milling, I would use a cutter designed around that job rather than force a general-purpose tool into it.
A useful production trial should record more than the first surface finish. Run the cutter long enough for the machine, insert and chip flow to reach normal working conditions. Check the shoulder for burrs, measure the wall and floor where accuracy matters, and inspect whether chips are collecting around clamps or pockets. Note spindle load, sound and insert condition at regular intervals. If the finish changes, alter one variable at a time so the team can identify whether the cause is engagement, feed, coolant delivery, tool overhang or edge wear. Keep the successful cutting data with the part program and record the insert grade and cutter body used. That creates a repeatable starting point for the next batch instead of asking a new operator to rediscover the same settings. For thin or lightly clamped parts, include a check for distortion after the component is released from the fixture.
